Simulations
Simulations allow you to set up one or more testing environments to run against plugins uploaded/pushed to an Extension Point. This enhances the built-in validations that XTP performs with a set of validations more specific to your application. Your tests serve as a quality gate for incoming plugins, ensuring they are safe to integrate with your application and that any potential runtime issues are addressed in advance. While not required, Simulations offer an additional layer of security tailored to your specific needs.
Create Simulations
Simulations are created using the XTP Dashboard as follows:
Step 1: Navigate to Simulations
Select 'Simulations' from the main menu when logged into your Host App.
Step 2: Associate Extension Point
Select the Extension Point to which you want to add a Simulation.
Multiple Simulations can be created and associated with an Extension Point. Each runs sequentially whenever a Guest uploads a plugin. If a Simulation fails, the plugin will be rejected and unable to be bound/installed.
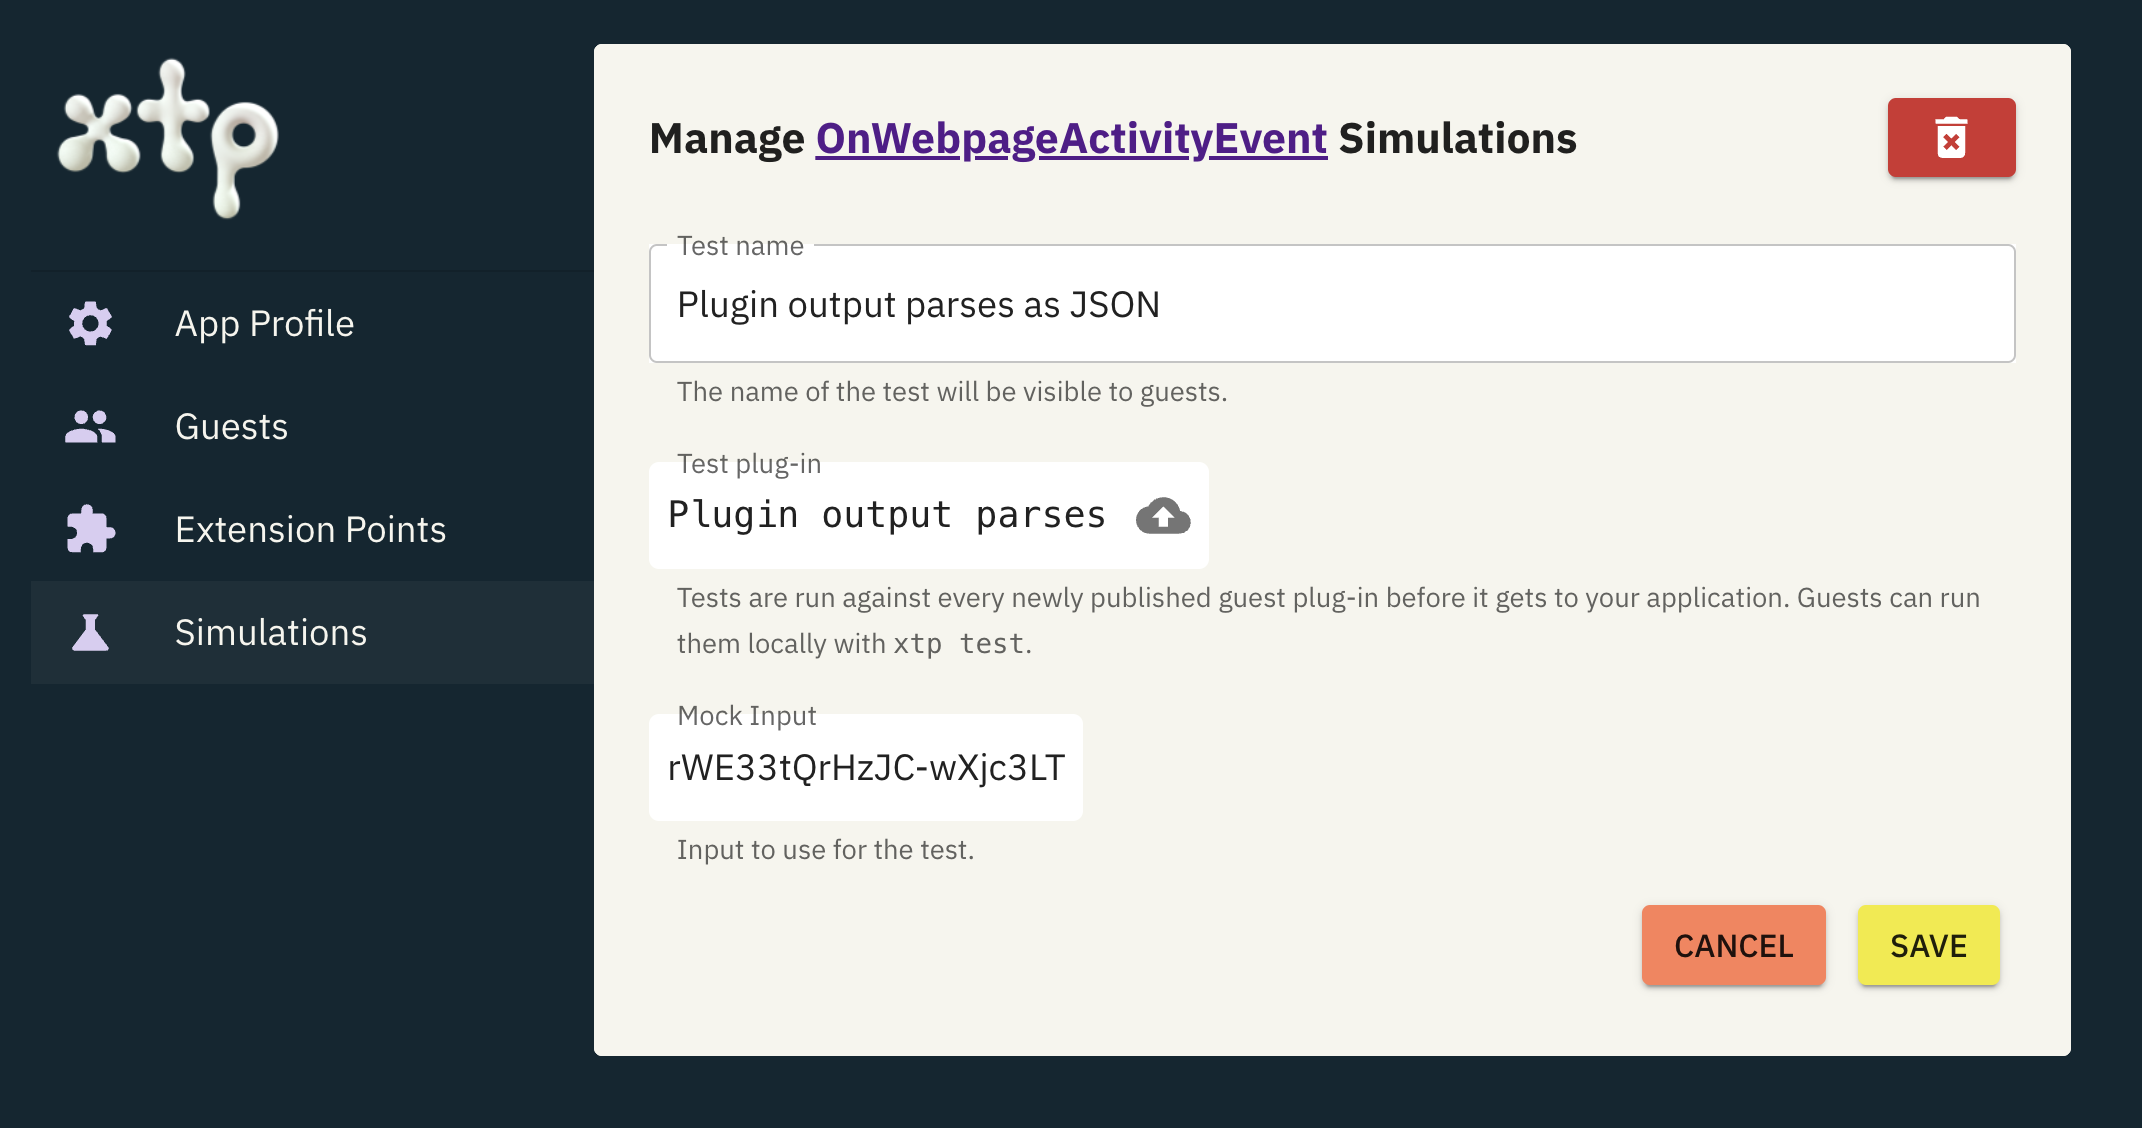
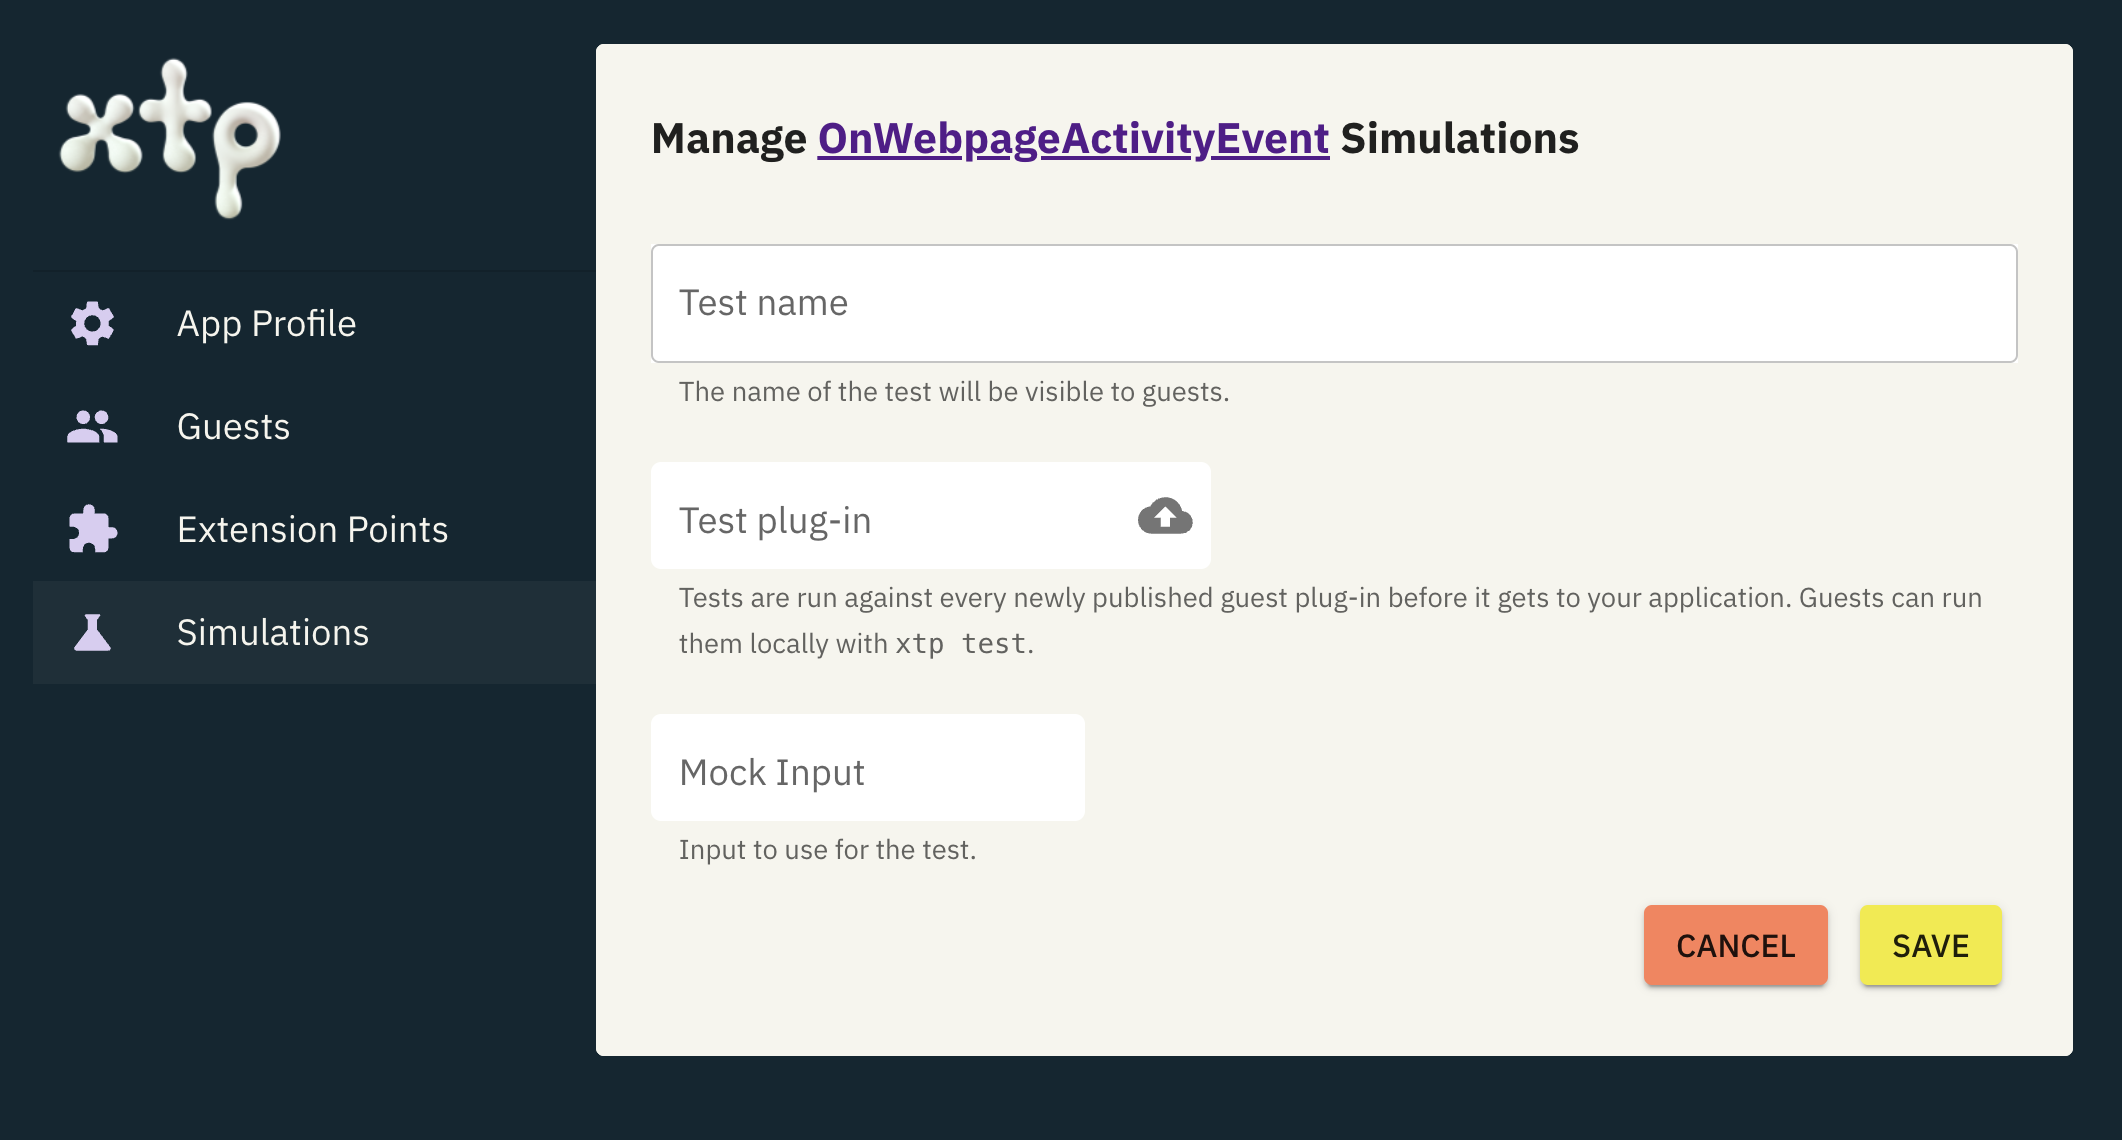
Step 3: Add Simulation
Click the "+ Add Simulation" button to open the creation screen.
As part of creating a new Simulation, you will need to upload various artifacts that provide the testing logic, such as assertions. Each artifact will be individually validated by XTP to ensure it is compatible with the plugin processor and fits its role in the simulation.
In the next step, you'll provide a few artifacts to fulfill a Simulations requirements:
Test Plugin
The plugin that provides the implementation to assert various things (e.g., outputs for given inputs, plugin state, performance timings, etc.) about the plugin being tested (uploaded by the Guest to the Extension Point).
Mock Host Functions
Provides implementations for the Imports (i.e., Host Functions) defined on the Extension Point. This step is necessary only if the Extension Point specifies Imports.
Mock Input
An optional set of data that your Testing Plugin can use for assertions against the plugin uploaded by the Guest. This data can be provided either as an artifact or inline in the dashboard.
See here for more details on how to create the various test artifacts described above.
Step 4: Save Simulation
Finally, save the Simulation to activate it. XTP will then run a final validation step to ensure all required artifacts are present. If the validation is successful, the Simulation will be activated.
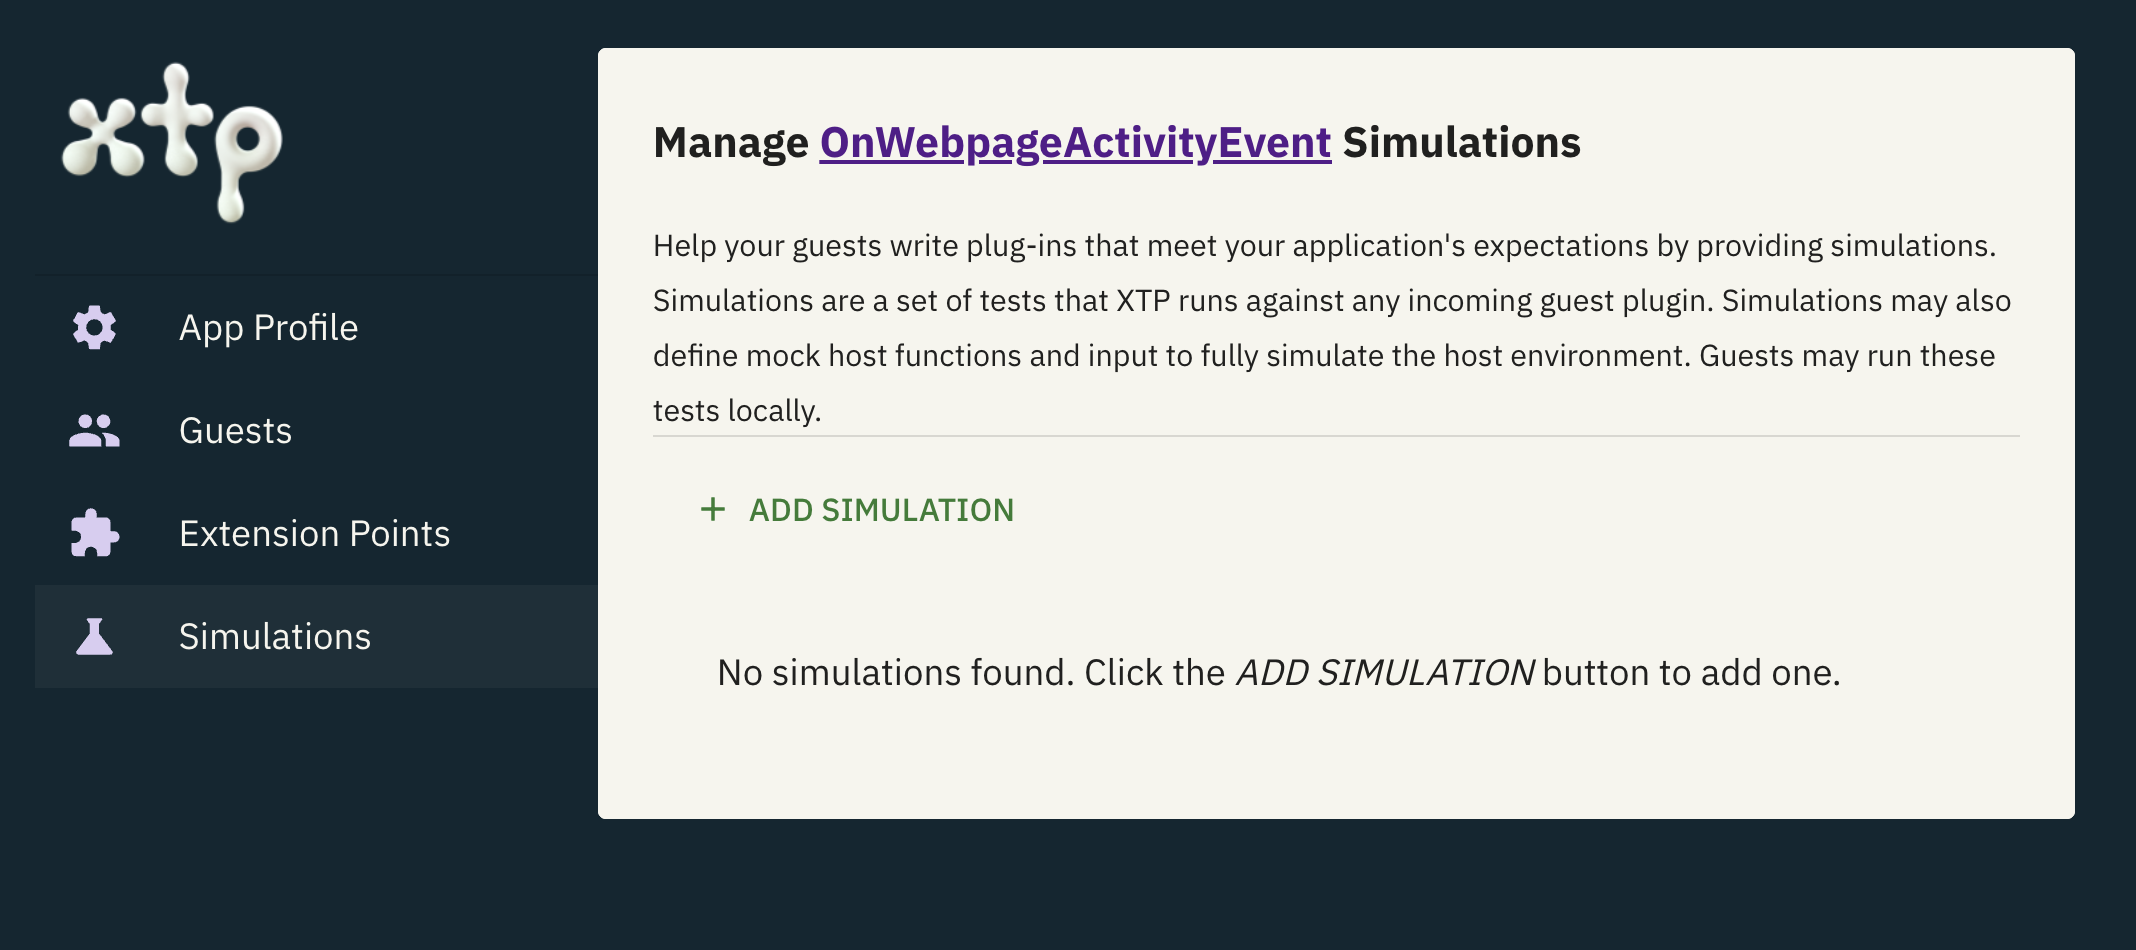
Managing Simulations
Simulations can be activated, deactivated, modified and deleted. The screenshot below displays the management screen, which you can access by selecting Edit next to the Extension Point containing the Simulations you want to modify. Navigate to the Simulations tab to make your changes.
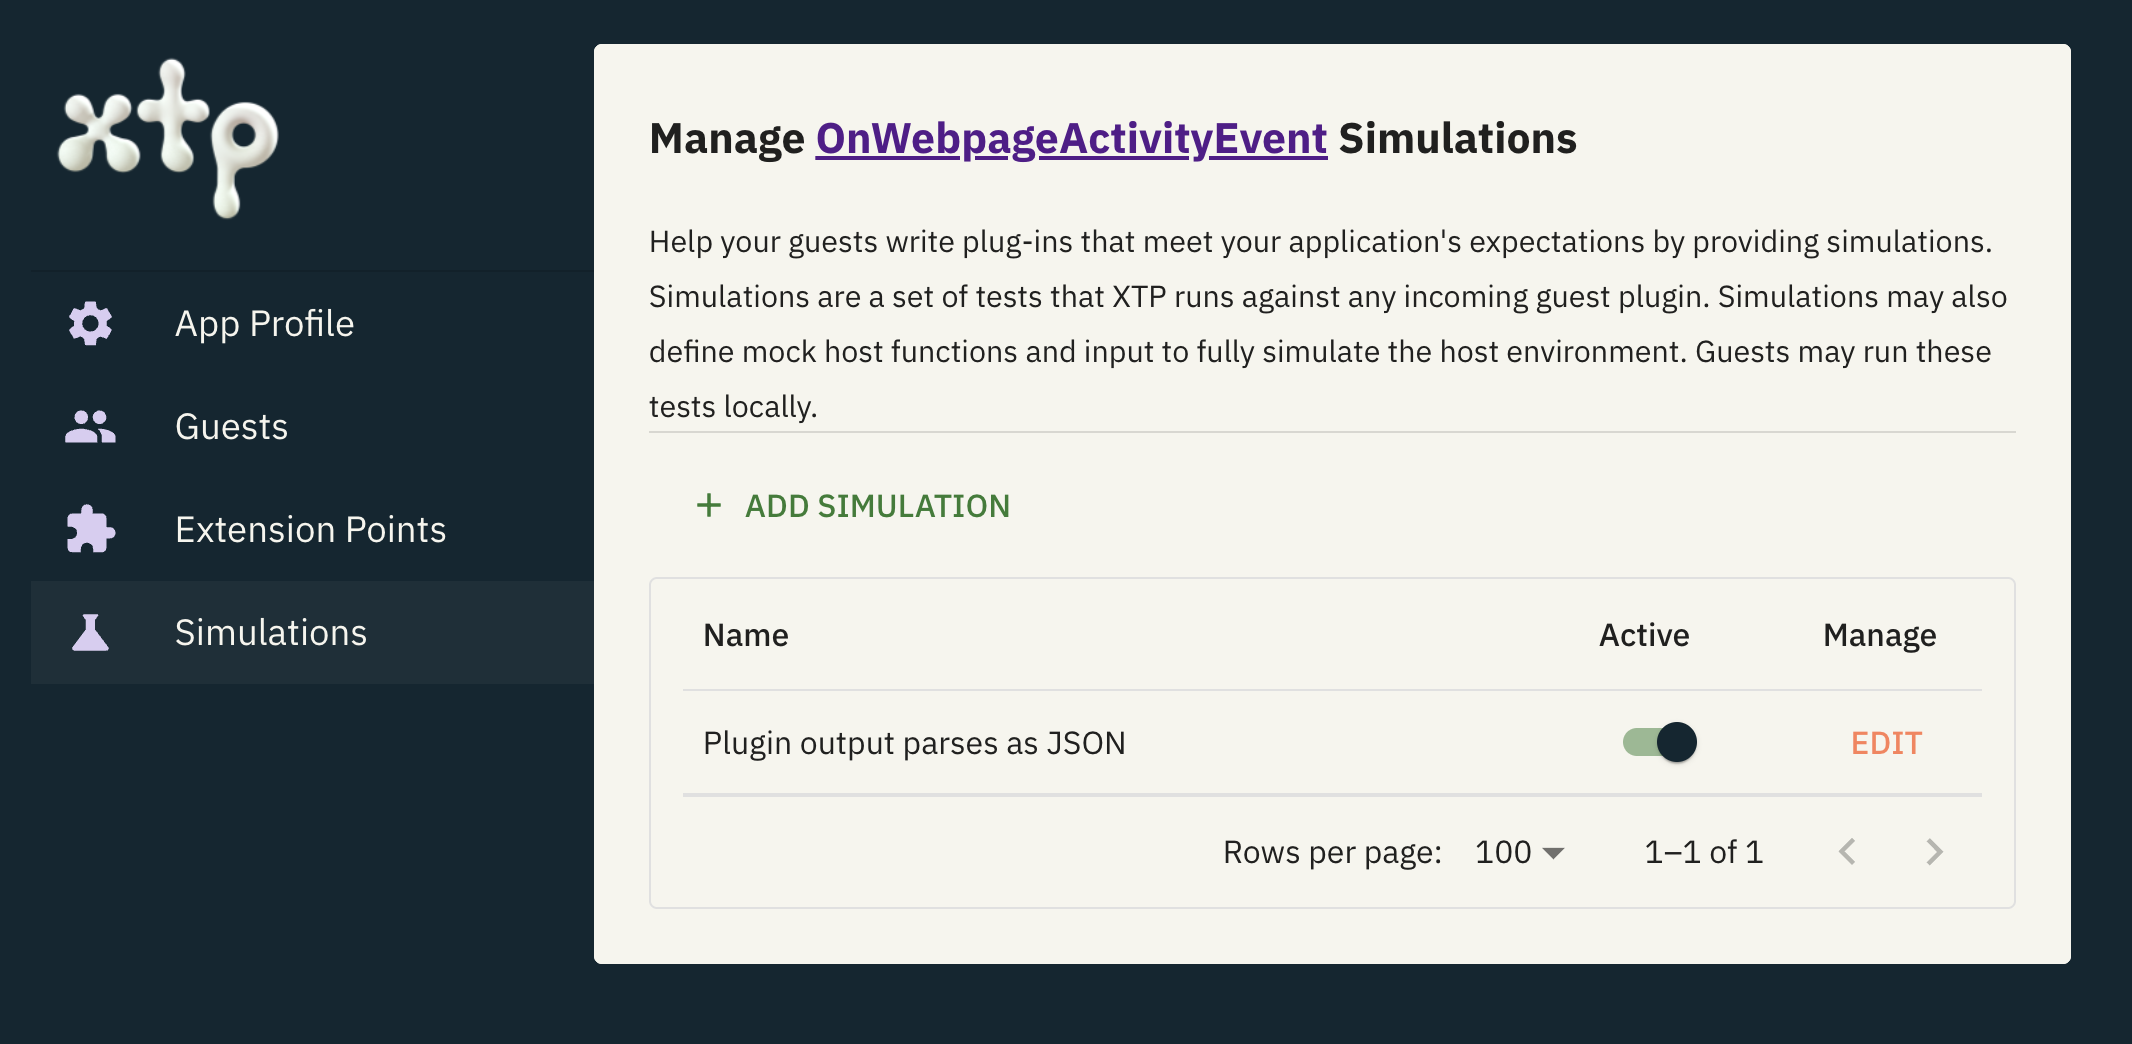
You can activate or deactivate the Simulation with the associated toggle button. Deactivating a Simulation prevents it from running during plugin installations
To modify the Simulation (i.e., change the testing artifacts associated with it), select Edit next to the Simulation you want to modify.
Click the button in the top right corner of the screen to delete the Simulation. This will perform a soft delete, removing it from view and preventing it from running during validation checks when plugins are installed.